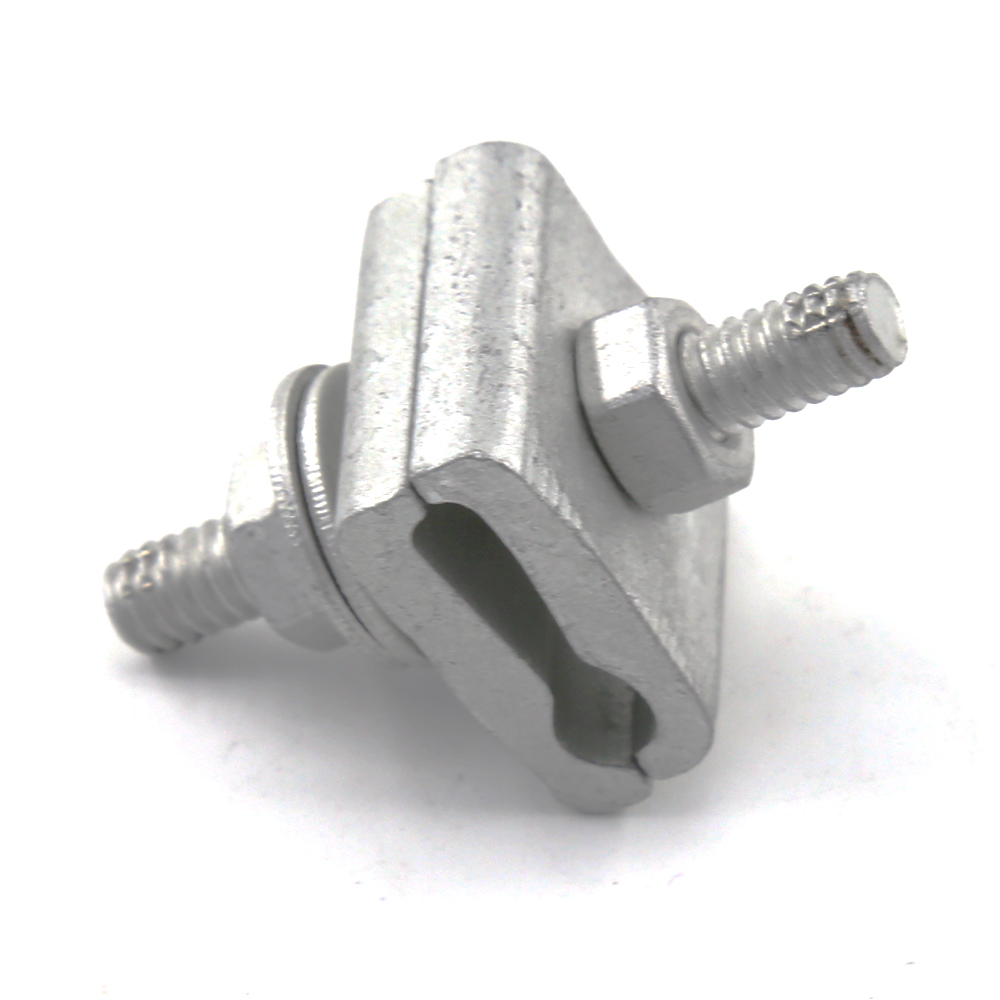
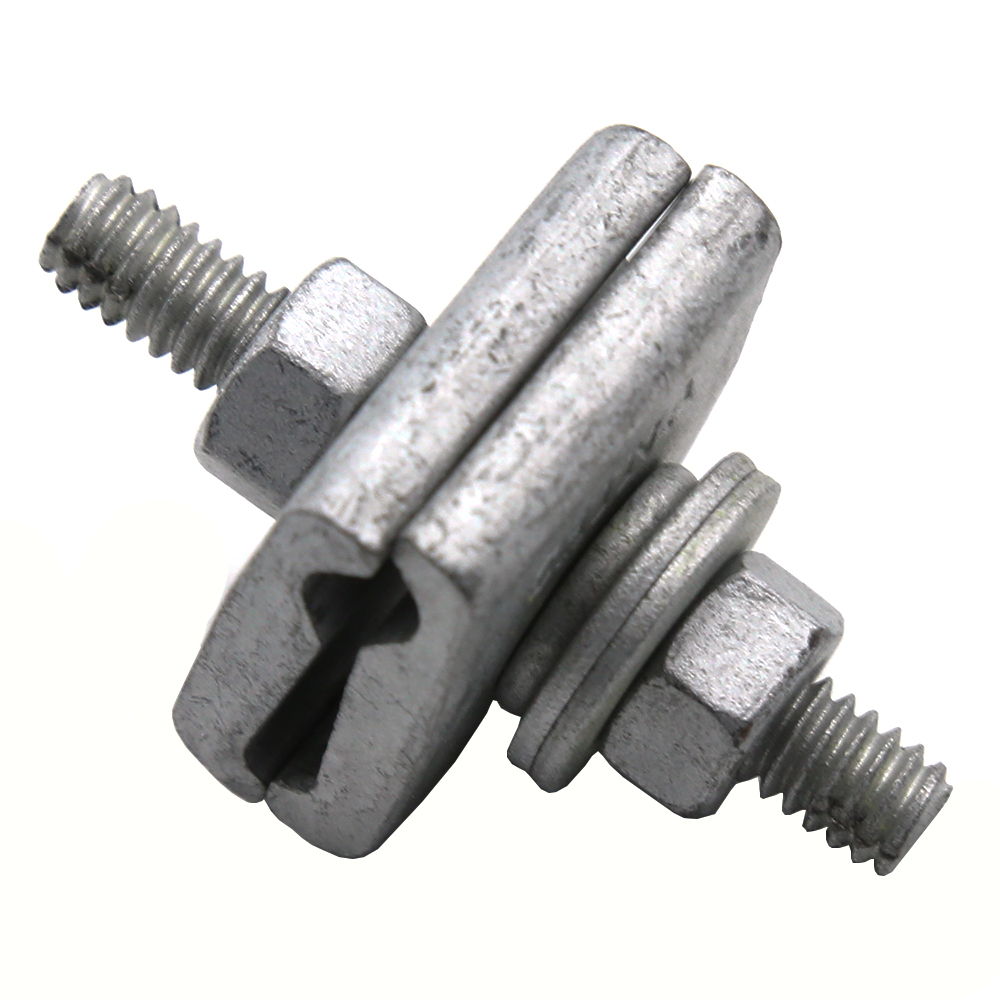
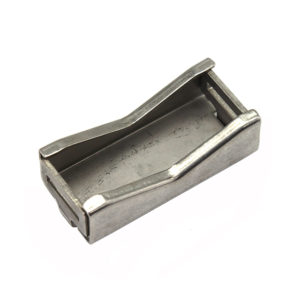
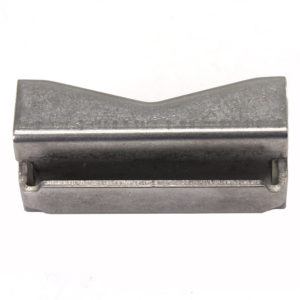
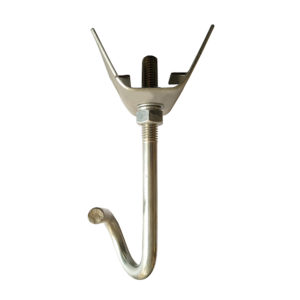
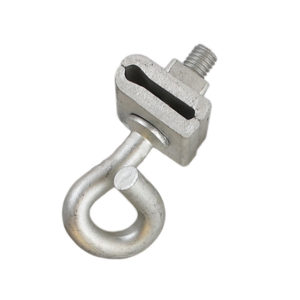
D Cable Lashing Clamp
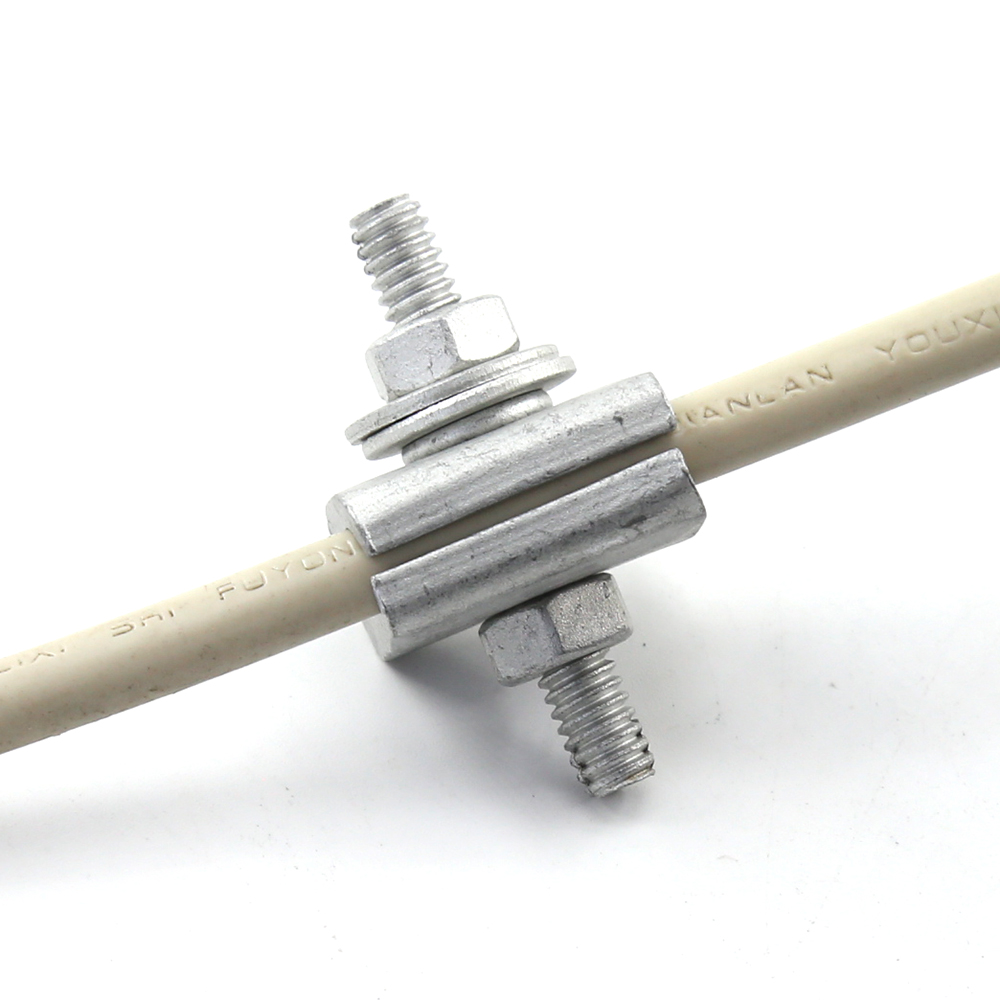
D Cable Lashing Clamp used in aerial construction to secure terminating lashing wire or ground wire to a strand.
Attaches to strand ranging in size from 1/4″(6.6M) to 7/16″(16M)
Description
D Cable Lashing Clamps are designed for easy and permanent termnination of lashing wire to messenger strand. They are commonly used in aerial construction to secure lashing wire teminations at any interruption to cable span continuity or end of lashing wire coil.
Our D Cable Lashing Wire Clamp are constructed of high quality steel, mechanically plated per ASTM B695.
Main Features:
- Used in aerial construction to secure terminating lashing wire or ground wire to a strand.
- Tensile strength of the jaws exceeds 50,000 PSI.
- Terminal ends of stud are staked to prevent disassembly during shipping and installation.
- Attaches to strand ranging in size from 1/4″(6.6M) to 7/16″(16M).
- The jaws are rolled and stamped from annealed 1018 Steel.
- The stud of the D Cable Lashing Clamp is formed from Grade 5 Steel.
- All components of D Cable Lashing Clamps are mechanically galvanized to meet ASTM Specification B695, Class 50, Type 1.
D Cable Lashing Clamp Specifications:
| Cleat Code | Description | Material | Strand |
|---|---|---|---|
| CW-DLC | D Cable Lashing Clamp | 1018 Steel | 1/4” TO 7/16” |
D Cable Lashing Clamp Installation:
-
- The first step to properly securing your bug nut is to place the groove of the clamp over the strand two inches outside the first lashed cable support or cable suspension clamp. D Cable Lashing Clamps can be used will all sizes of lashing wire and various ground wires (No. 6 or B) and galvanized strands (6M, 6.6M, 10M, and 16M).
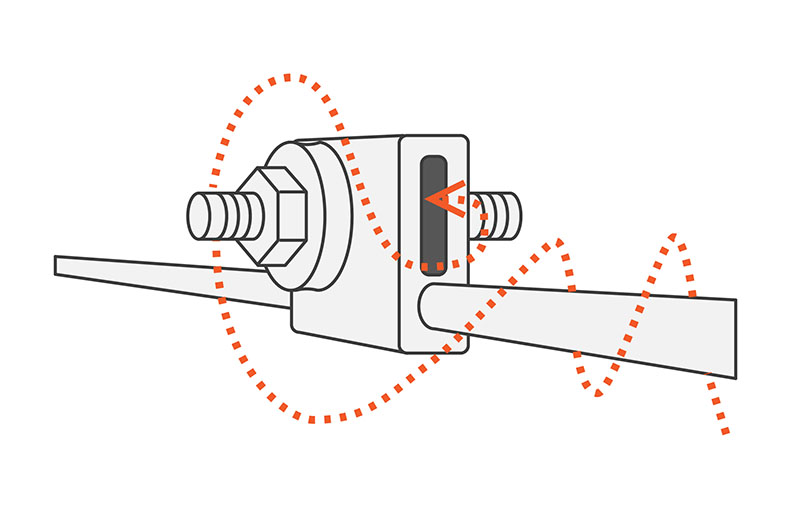
- Next, cut your lashing wire so that it will leave a 1/4 inch tail after being threaded through the bug nut. Before cutting the lashing wire, secure the lashing wire to the strand with a lashing wire grip. Similarly, before securing the ends of lashing wire either permanently or temporarily, tap the strand sharply a few times while maintaining a pull on the wire to remove any slack which may have been introduced in the lashing wire.
- Then, wrap the lashing wire around the strand twice following the natural twist of the strand.
- Fourth, bend the lashing wire around the stud back halfway between the stud collar or shoulder and the second washer. Do not wrap the lashing wire around the stud a full 360°. This mistake can lead to pinching, breakage, and premature failure.
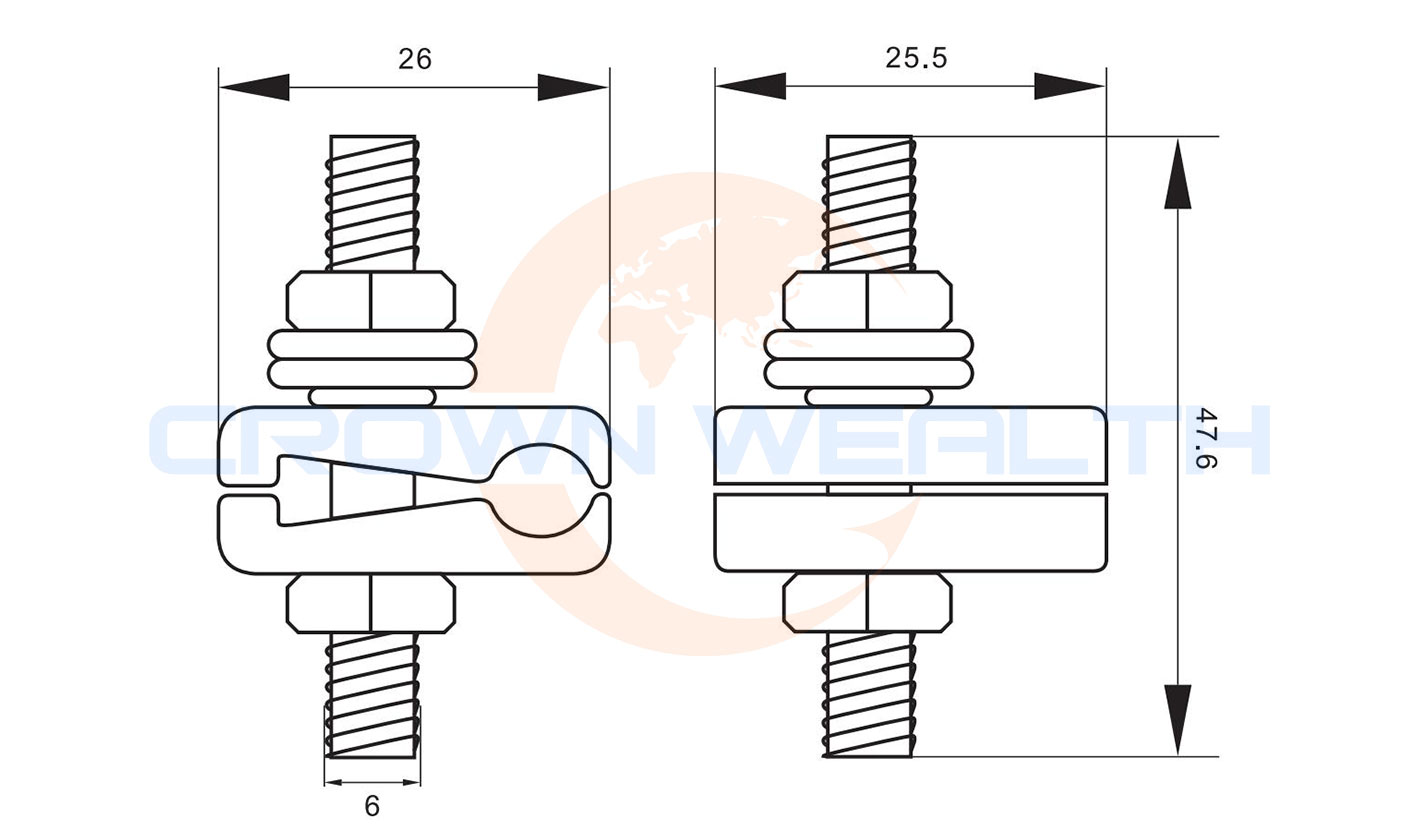
-
- Once the wire is in place tighten the terminating nut. The nut can be tightened or loosened with a C Socket Wrench or B Ratchet Wrench.
- Finally, tuck the loose end of the washing wire into the nook in the top of the clamp, so that it is out of the way. Tucking the end away will additionally ensure that the end of the lashing wire does not score the cable sheath.
- When over lashing follow the third and fourth steps, but secure the second lashing wire between two flat washers. Furthermore, when terminating ground wires, place the wire between the two washers for the best electrical connection.The D Cable Lashing Clamp may be used to join two lashing wires, where the first termination is behind the second washer and the second termination is between the first and second wires. However, this should not be used in spans as it prevents the lashing of a second cable.

